I am new to photography. Even though i know how to point and shoot a camera, the art of making a good photo is a new experience. There are many ways that we can increase in our understanding, and while studying this topic I came up with these examples to showcase the different methods of exposure. All of these images are royalty-free from https://www.pexels.com/.
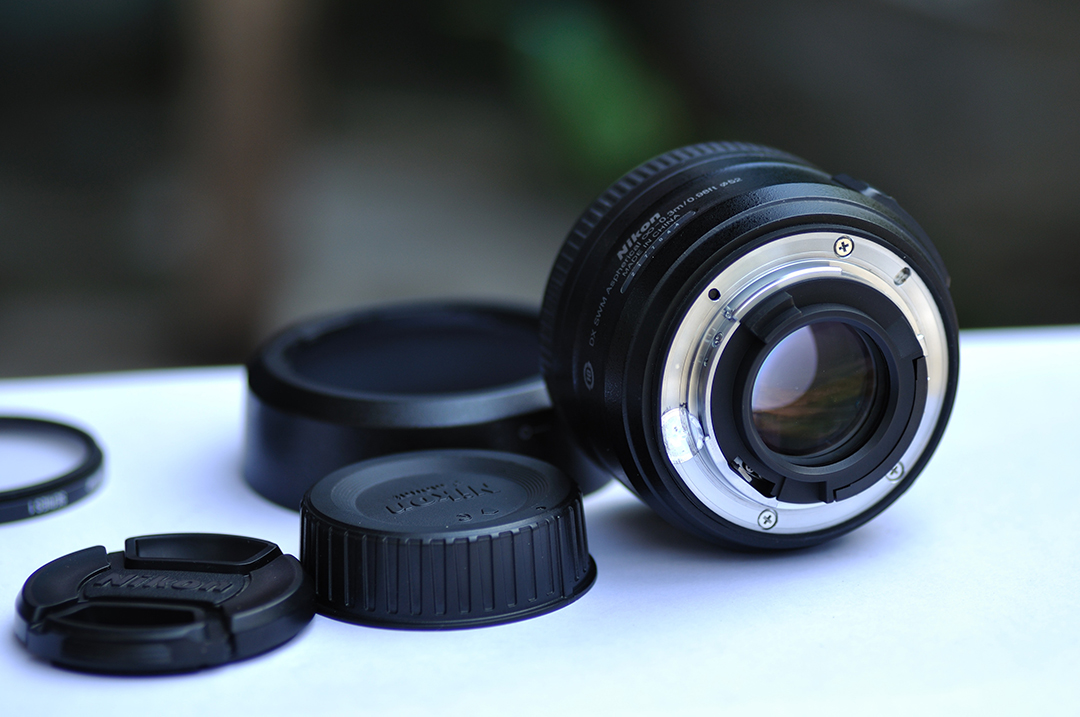 Wide Aperture
The photo above is an example of a Wide aperture. A good method of telling if it has a wide aperture is if the front is in focus, whereas the background is not. As we can see the front of the image with the camera is completely in focus, with the background is all blurry. This creates what is known as a bokeh effect, which is made by changing the aperture to a smaller number, such as f/1.4. This allows for more light to enter the camera when the photo is being taken.
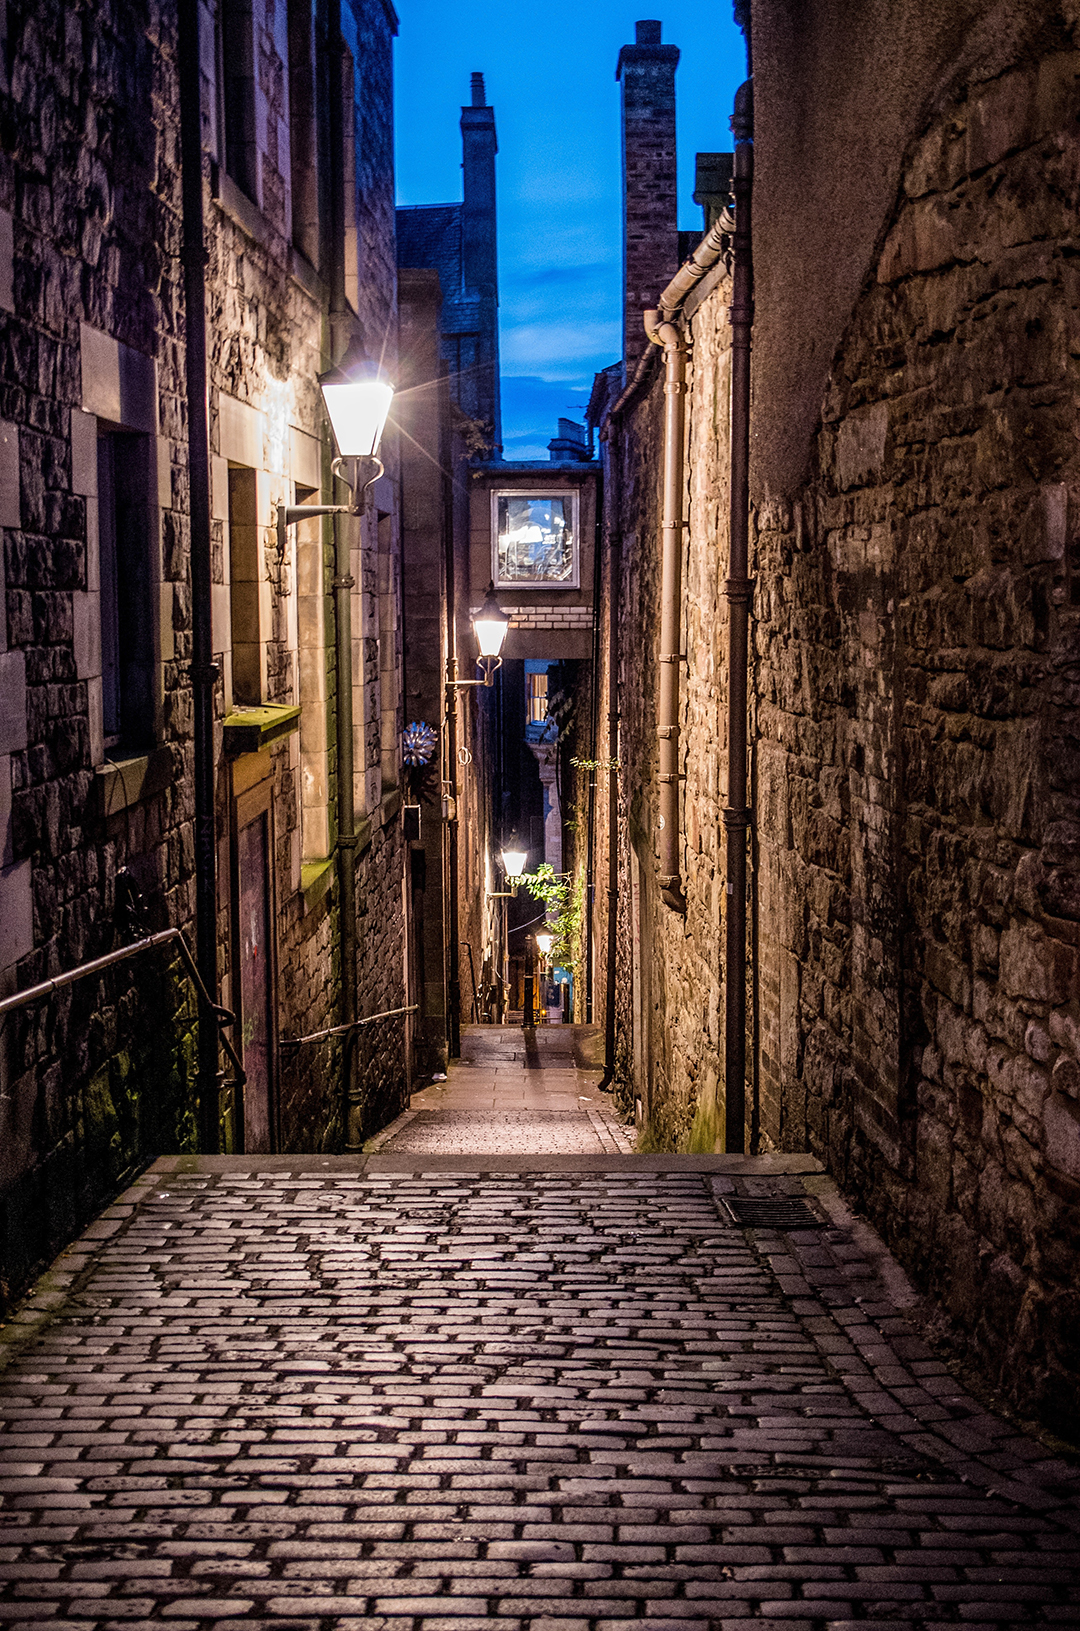 Narrow Aperture
Unlike a wide aperture setting with an f-stop number being smaller, a narrow aperture is a higher number, such as f/22. This allows for much less light into the camera, and makes for very crisp in focus photos. Having a narrow aperture also means that there will be an increased depth-of-field. In the example we can see that the entire picture is in focus. we can see back into the alley without any bokeh(blur).
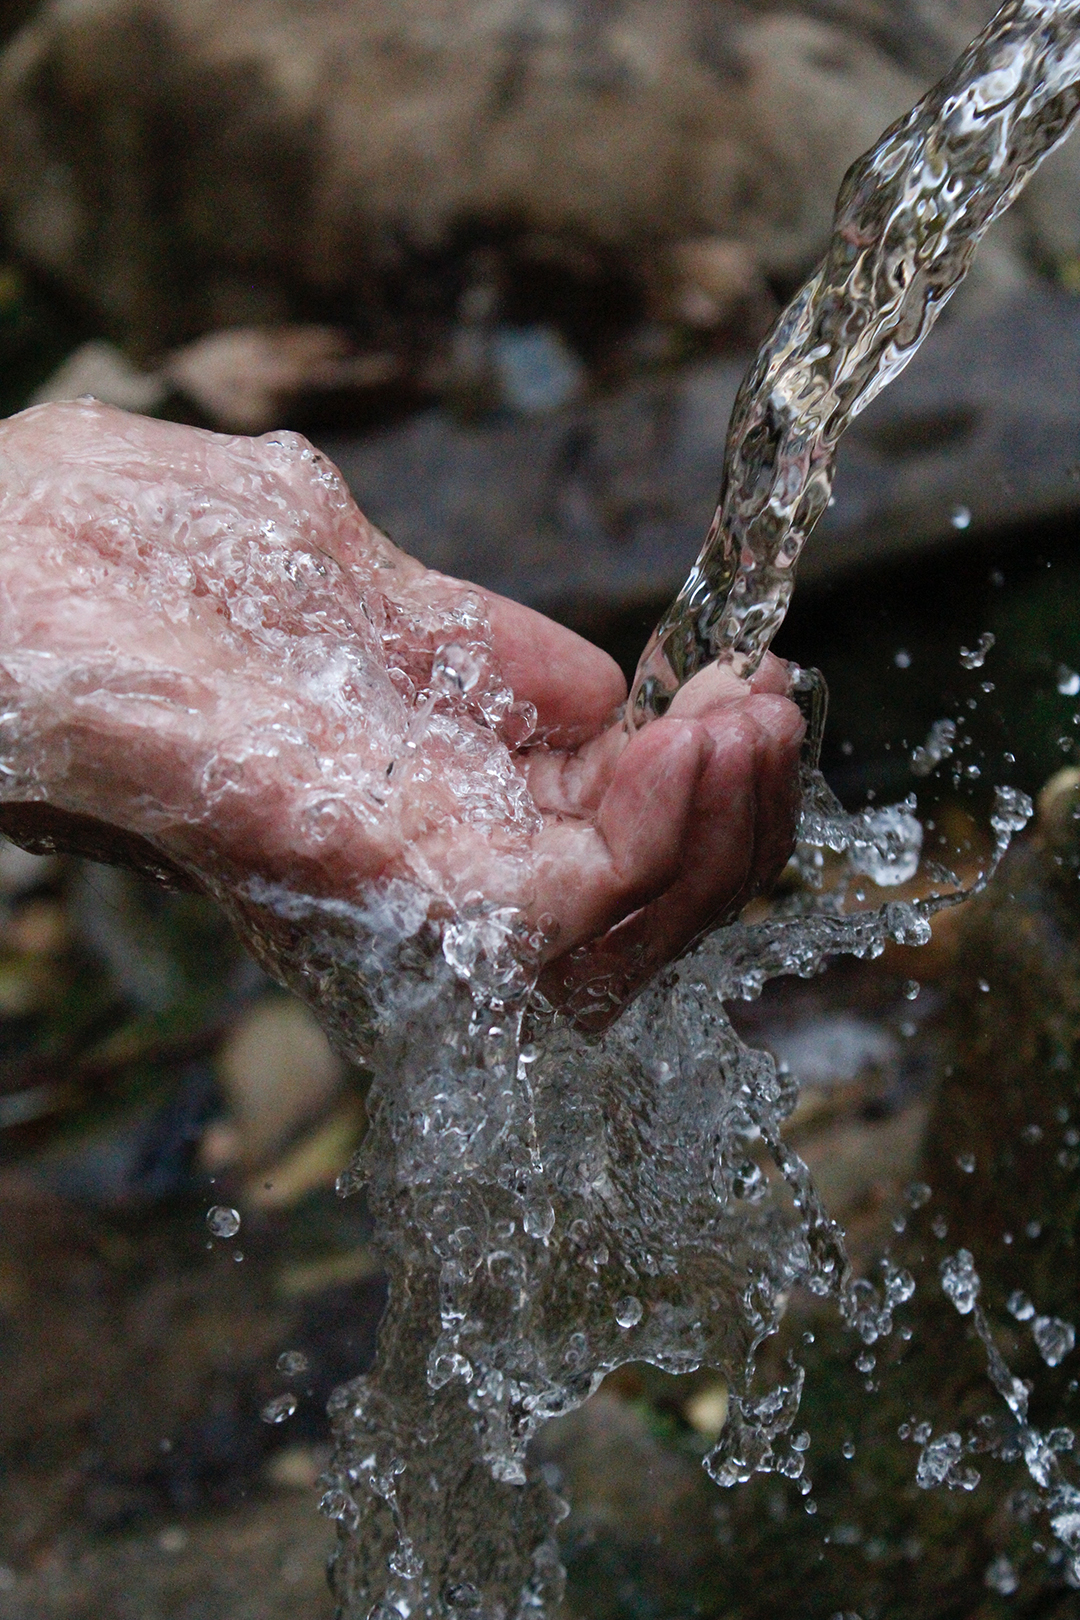
Fast Shutter Speed
Shutter speed can affect the way your photos look quite drastically. A fast shutter speed, like what was used in the photo above, allows for motion to be frozen in place while also allowing for the picture to be quality. A fast shutter speed means that less light is allowed, which makes for sharp, clear photos of motion.
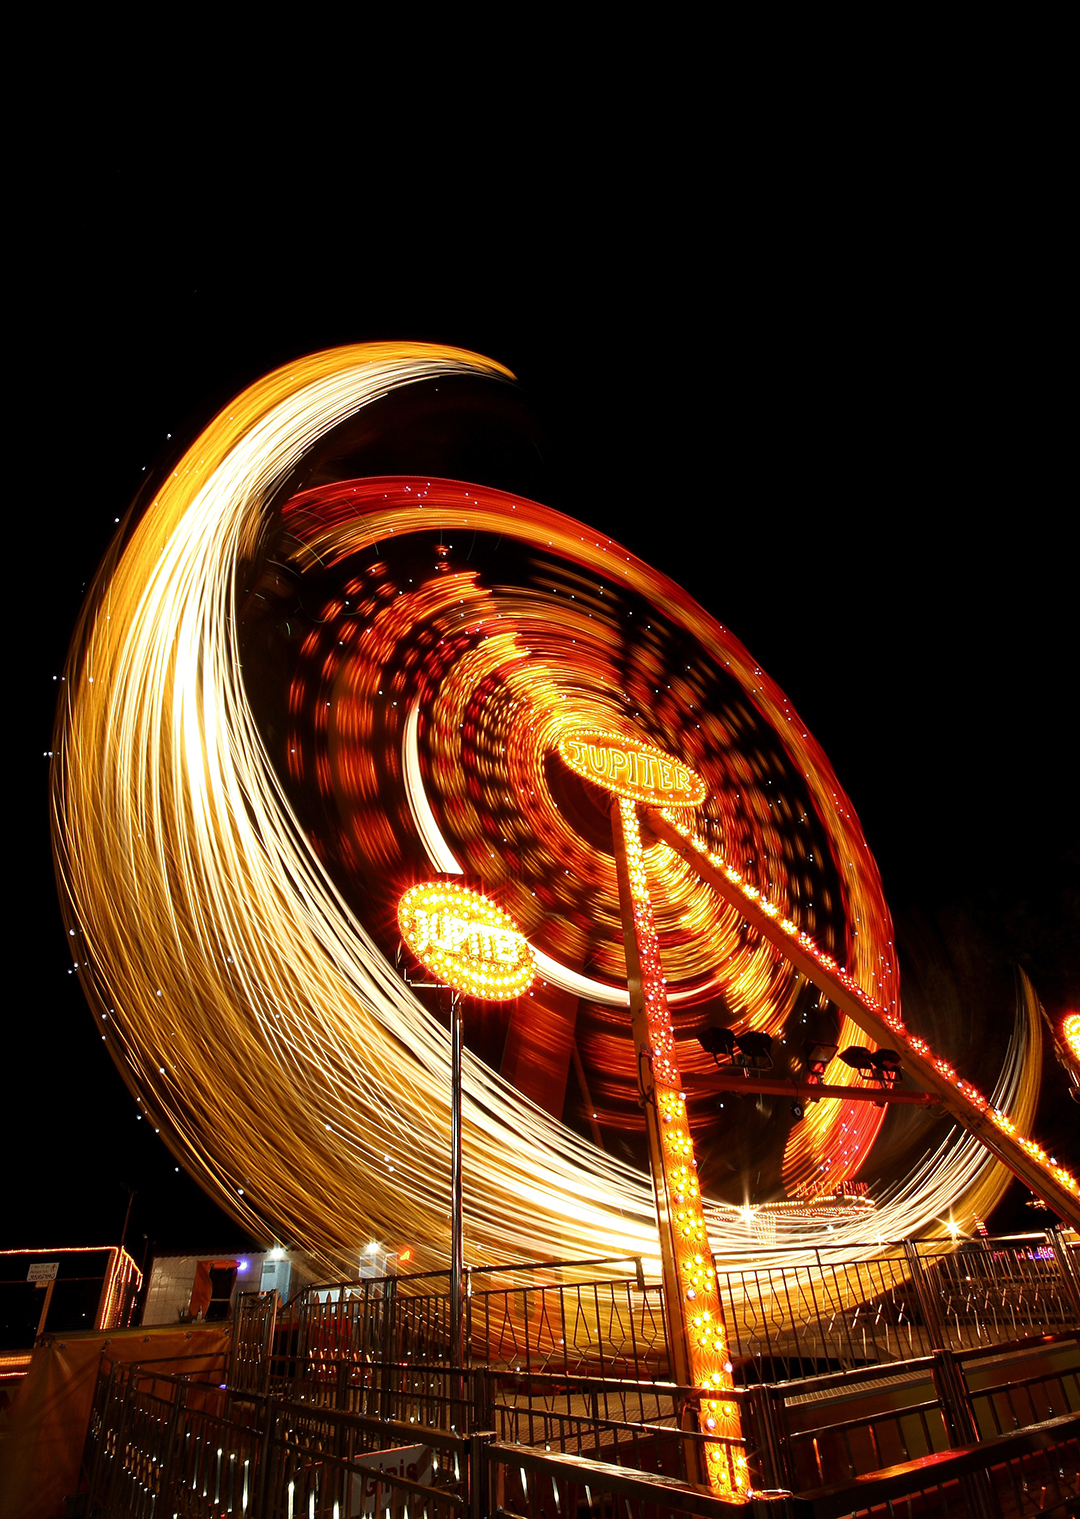
Slow Shutter speed
Just the opposite happens with a slow shutter speed setting. The slower the setting, it allows for much more light to envelop the picture being taken, and it allows for motion to be blurred together, but not so much that it cannot not be seen. Using this lower speed is very useful for pictures of cars or water, where a smooth line is what is wanted.
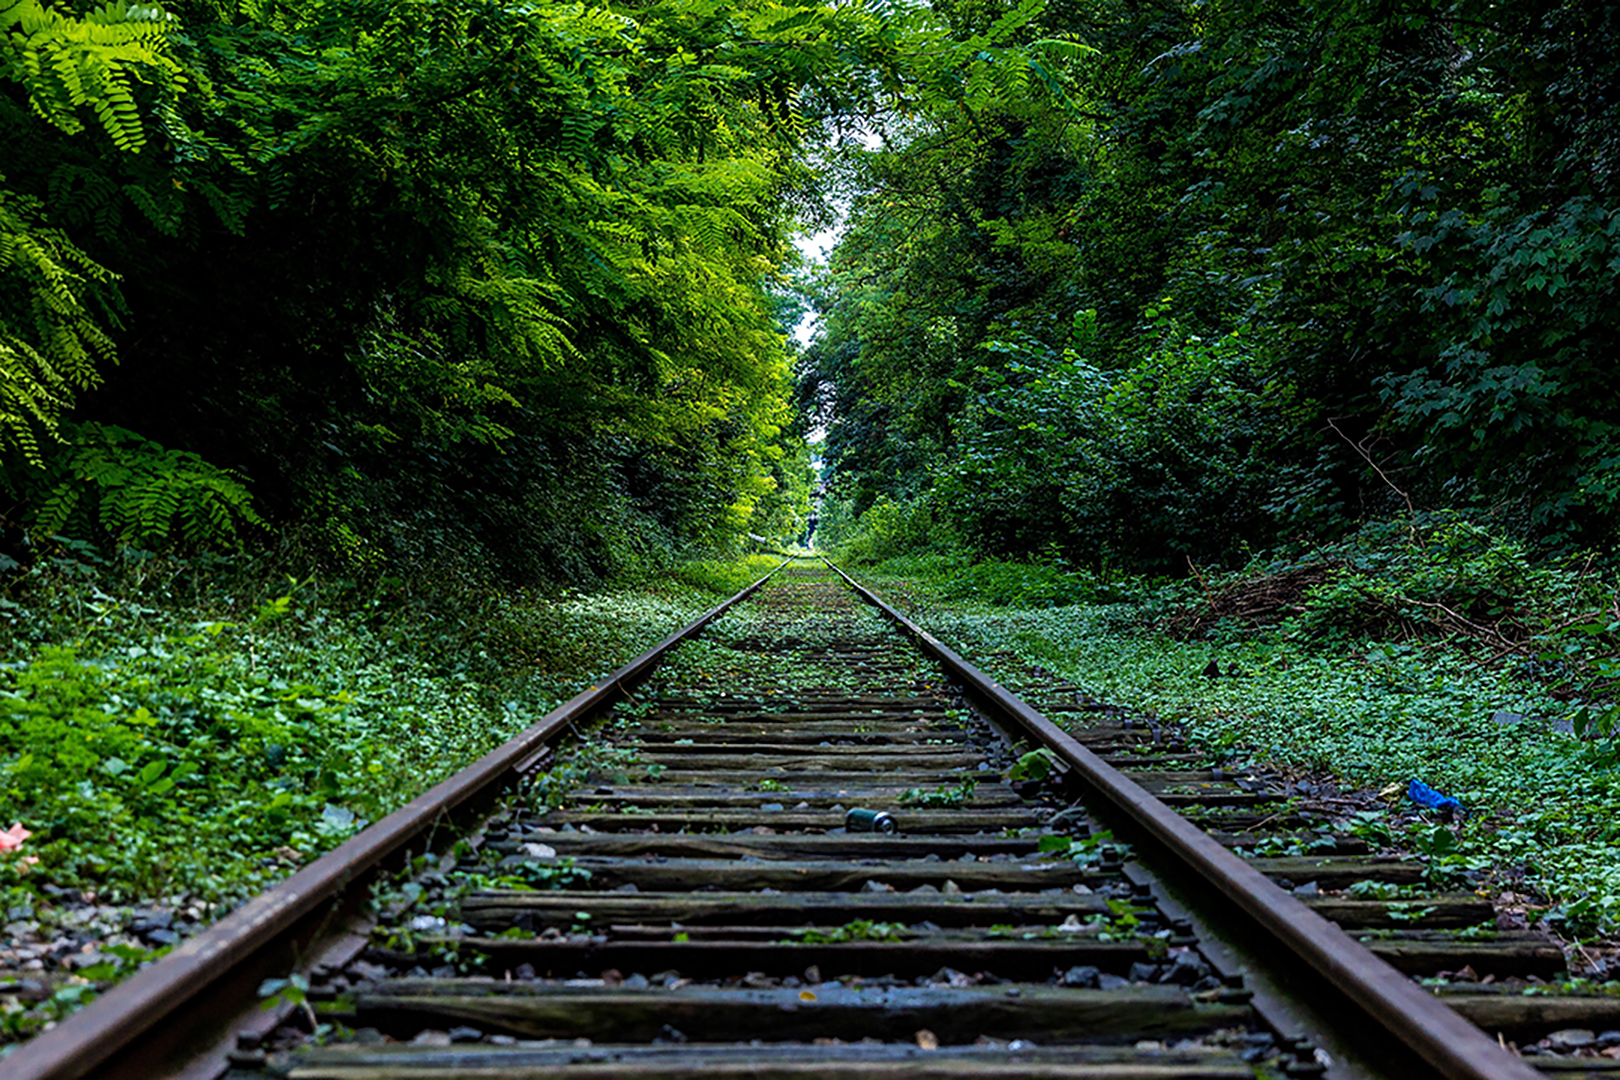
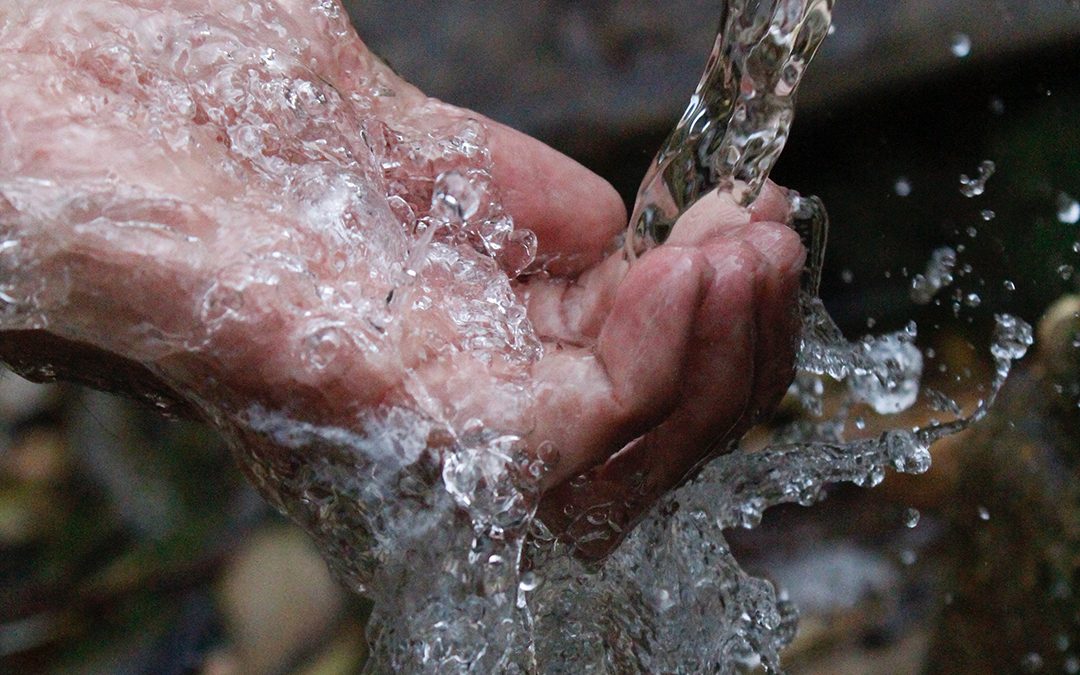
High ISO
ISO refers to the light sensitivity. The more natural light, the lower the ISO setting on a camera could be. The above picture shows a high ISO setting, which was probably used due to not being as much light coming in through the trees. A higher setting catches more and more light, but also adds what is called “noise”. Pictures can get grainy with a higher ISO, so using a lower setting will avoid that. At night, it’s best to use a High ISO setting, a slow shutter speed and a wider aperture. Using all these settings will bring the best results to bring out the night sky with the lack of light.
Photography is awesome! These are all very important skills to learn when taking photos, because knowing the right settings on the camera will bring the best results. I also found in my research that in any situation, the use of a tripod can be of use. As humans we are known not to be able to hold perfectly still, so bringing in an immovable object may prove useful to get the perfect shot. Those perfect shots are possible, they just take some time to learn how to accomplish them.

Jared! I think it was wise that you chose to speak about ISO in this blog post. I think it goes along well with the other aspects of photography you are trying to describe, and it can be a little tricky to figure out on the camera sometimes. I also liked your final note and suggestion to use a tripod! That’s especially helpful in low-light situations and for slow shutter speed. As you said, it’s almost impossible to hold a camera completely steady without one! Overall great job.
Check out Danielle Smith’s blog from our class, she also did a great job describing these different elements of photography. https://daniellesmith191.wordpress.com/2019/09/24/aperture-shutter-speed-and-iso/
Here is the link to my blog as well! To get to my post just click on photoblog on the left. https://merrittjewelscomm130.wordpress.com/
Very fun and intriguing photos, Jared. I liked the photo of the camera; it was unique and a nice touch. The information was intriguing and well written.
I really appreciate that you had both an intro and a wrap up to your post.
Also way to be on explaining how the other subjects play a role in each photo. ie. how the shutter speed and ISO play a role in aperture and so on.
also check out my blog @ https://ryanadamdoss.wordpress.com/